
Outdoor String Lights Setup for Balconies and Small Patios
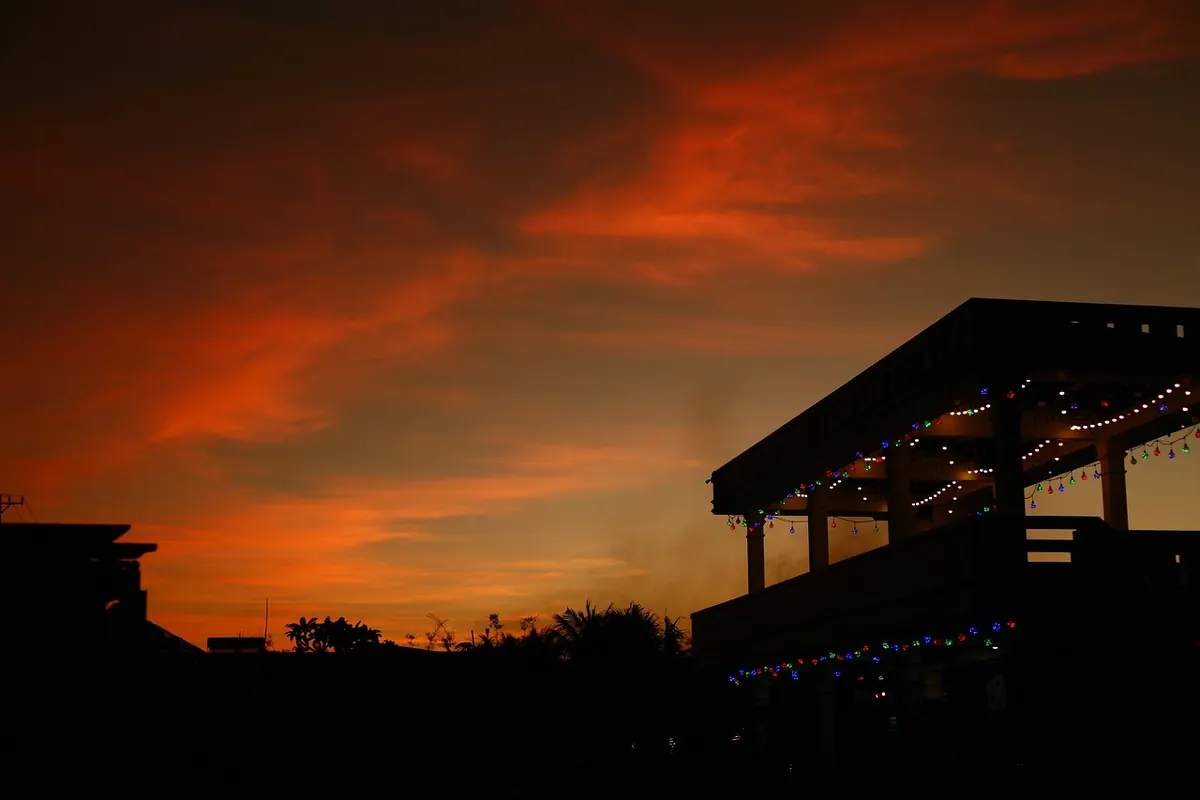
A small balcony can feel like an extra room after dark. A café table, two chairs, a few pots of herbs, and a line of warm bulbs overhead change how long you want to sit outside. The result should feel easy, not staged. That starts with planning the run before you buy, choosing a string that suits the space, and mounting it so the cables stay tidy and the power stays safe.
Plan the run before you buy
Measure the path the lights will take, not the room. Start at the outdoor socket and follow the route with a tape measure or a piece of string: along the wall, around the railing, up to a hook, across the ceiling, back down to the plug. Write down each straight section and add the corners. If you plan to swag the lights between anchor points, add extra length for the curve. A gentle dip uses more cable than a tight line, and a deep swoop uses more still.
Do not forget the vertical drops. The distance from the last hook back to the socket is part of the run, and it is easy to overlook when you are looking up at the ceiling. Leave a little slack at the end as well. String lights should never be pulled tight like a wire; wind, heat, and expansion can put strain on the anchors and the cable.
Route the cable away from daily traffic
On a balcony, the shortest route is not always the best one. Keep the cable out of the path between the door and the chairs, away from the grill, and clear of anything that opens or closes. Do not run it through a window or door that will pinch the cable. If you rent, check what your building allows before drilling; removable railing mounts and clips can solve most small-space problems without permanent changes.
Choose a string that suits a small outdoor space
For a balcony or small patio, smaller bulbs usually look better than large ones. A string of compact globes or teardrop bulbs gives a soft outline without turning a narrow space into a stage. Warm white is the most forgiving choice for relaxing evenings; look for a colour temperature around 2700K to 3000K if the packaging gives one. Cool white bulbs can feel harsh against brick, stucco, and plants.
Check that the string is rated for outdoor use and that the plug and connectors are designed for the weather. Low-voltage LED sets are common and use less power, but their connections still need protection from rain. If you have no outdoor socket, a solar string can work on a sunny balcony, though it will be dimmer on cloudy days. For a patio with a reliable outlet, a plug-in LED string with a timer is often the simplest choice.
- Length: buy for your measured route plus slack, not for the biggest display.
- Bulb size: small globes suit railings and narrow ceilings; larger bulbs need more room.
- Spacing: close spacing gives a denser glow; wider spacing looks more relaxed.
- Connections: make sure the set can reach the socket without a long, loose extension cable.
- Control: a dimmer or timer makes warm light easier to live with every night.
Mount securely without damaging the balcony
Start with the anchor points, not the lights. Place hooks or clips at corners, above the seating area, and wherever you want the string to change direction. Keep them firm and evenly spaced enough that the cable does not sag into head height. On railings, outdoor-rated zip ties or removable railing clamps can hold a light string neatly; trim the tie ends so they do not scratch arms or catch clothing.
Adhesive hooks can work for a very light string on a clean, smooth surface, but outdoors they are less reliable in heat, cold, and damp. Treat them as temporary. If you drill, use the right fixing for the wall: masonry plugs for brick or concrete, wood screws for timber, and a little care around the edges. Avoid drilling near concealed cables or pipes. For anything more permanent than a plug-in string, or if you are unsure about the wall, ask a qualified electrician or handyperson.
Never staple through the cable, and do not hang the string from a gutter, downpipe, or anything that might move in the wind. Keep it away from sharp metal edges and from doors that could trap it. A small balcony has little room for error, so test the route by walking it before you commit to hooks.
Handle power and weather with care
Use an outdoor-rated socket protected by a residual-current device, also called an RCD or GFCI depending on where you live. Keep the plug and any connections off the ground and out of standing water. Form a small drip loop where the cable meets the socket so rainwater runs off instead of into the connection. If the plug is exposed, use a weatherproof cover designed for outdoor use.
Do not overload the circuit or daisy-chain more strings than the manufacturer allows. Use an outdoor extension cable if you need one, and keep it short. Unplug the lights before severe weather or before cleaning the balcony, and do not handle the plug with wet hands. Check the cable now and then for cracks, loose bulbs, or water inside the connectors. If you want fixed wiring, new sockets, or lights integrated into a pergola, have that work done properly rather than improvising.
Place warm light for sitting, not staring
The best balcony lighting is comfortable from the chair. Sit down and look at where the bulbs will hang. If a bare bulb sits at eye level, it will glare; move the run higher, push it toward the wall, or let it follow the railing instead. A soft wash of light across the wall behind the seating area often feels warmer than a bright line directly overhead.
On a small patio, one well-placed run is usually enough. Use the corners to frame the space, and let the light fall toward the table rather than into your eyes. If the ceiling is low, run the string along the outer edge of the balcony or around the railing and add a small battery lantern on the table. Keep the overall level low. Warm light should flatter faces and plants, not compete with the streetlights.
Test the setup at night from the spot where you will actually sit. If you can see the bulb filament burning into your view, the string needs to move.
A practical weekend setup
- Plug in the lights indoors and check every bulb, the timer, and the dimmer if you have one.
- Lay the string along the planned route without fixing it, then adjust the length and swags.
- Mark the anchor points with removable tape, step back, and check the line from the doorway.
- Install hooks or clips, then start at the socket and work outward, leaving slack at corners.
- Secure the cable with clips or ties, form a drip loop, and keep connections off the floor.
- Plug into the protected outdoor socket, set the timer, and sit in each chair to check for glare.
- Tidy the excess cable and make sure nothing blocks the door, railing, or walkway.
Keep the glow easy to live with
A good balcony string light setup should be simple to switch on, easy to adjust, and safe to leave alone. Use a timer so the lights come on at dusk and go off before bed, and check the cable after windy weather. Before the cold season, unplug the set, clean it gently, and store it dry. If a bulb fails, replace it with the same type so the colour and brightness stay even. The aim is a warm outline around a small space, not a lighting rig. A little planning before the first hook goes in is what makes that glow feel effortless all summer.
Photo: sergeitokmakov / Pixabay