
Rental-Friendly Lighting Upgrades You Can Install Without Rewiring
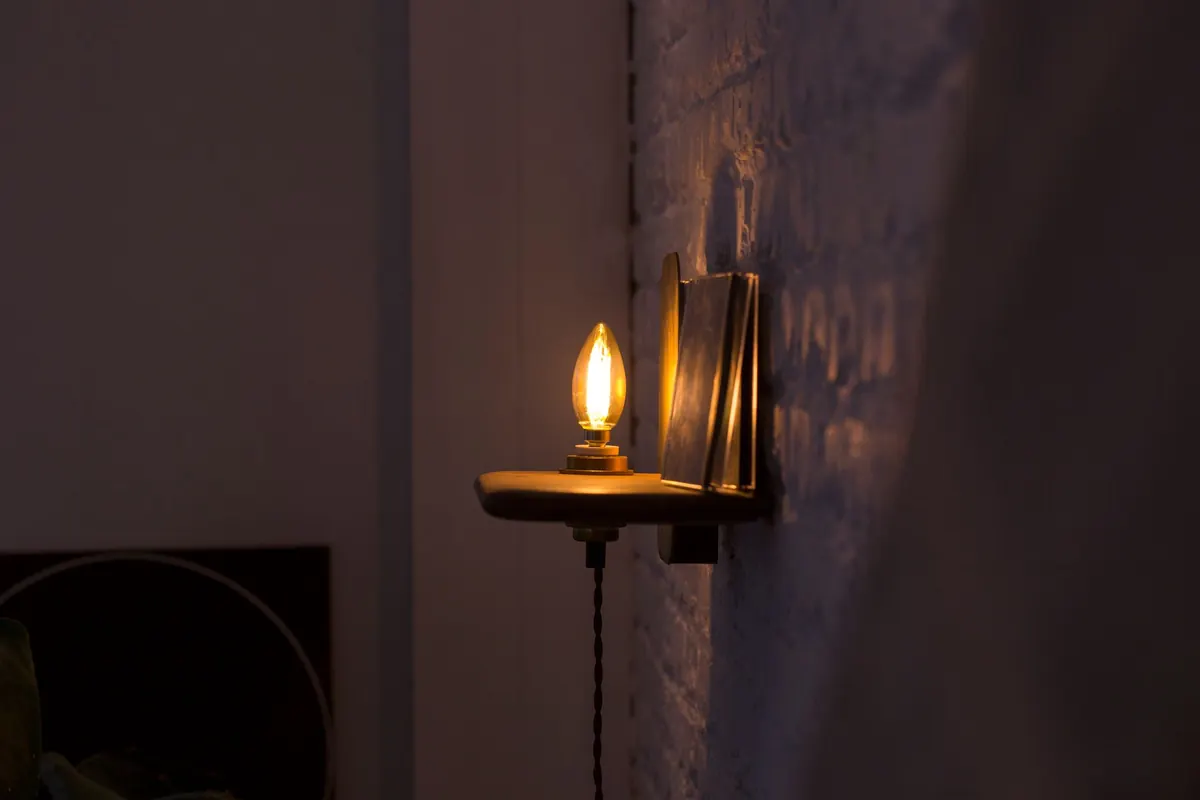
Most rentals come with the same lighting plan: one ceiling fixture in the middle of the room, a switch by the door, and nothing else. The result is a room that's either glaringly bright or dim in exactly the corner where you need to read, cook, or find your keys. The good news is that the fix rarely requires an electrician. Nearly everything that makes a room feel well lit — layers, warmth, direction, control — can be added with a plug, a hook, or a strip of adhesive.
What follows is a practical playbook for upgrading rental lighting without rewiring, opening walls, or begging a landlord for permission. Everything here is reversible, and most of it costs less than a decent dinner out.
Start With Layers, Not With Fixtures
Before you buy anything, decide what the room is missing. Good lighting usually comes in three layers, and rentals tend to supply only the first.
- Ambient light — the general wash that lets you move around safely. Your ceiling fixture already does this, even if it does it badly.
- Task light — concentrated light for reading, chopping, working, or putting on makeup.
- Accent light — smaller pools of light that give a room depth: a lamp on a bookshelf, a sconce beside a print, a warm glow behind a plant.
Once you know which layer is missing, the shopping gets much easier. A dark bedroom with one overhead bulb usually needs two task lights and one accent, not a brighter bulb. A living room that feels flat needs a corner uplight far more than it needs anything on the ceiling.
Plug-In Sconces: The Best Single Upgrade
A plug-in wall sconce is exactly what it sounds like: a wall-mounted light with a fabric-covered cord that ends in a standard plug. No junction box, no switch wiring. You mount the backplate, drape or conceal the cord, and plug it in. Many models have a switch on the cord or on the fixture itself, and some come with a remote.
How to place one so it looks built in
- Hold the sconce against the wall at the height you want — typically around eye level when seated for bedside use, or slightly higher over a reading chair.
- Measure the distance from the mounting plate down to the nearest outlet. That measurement is the cord length you need to hide.
- Choose a cord cover in the same color as your wall, or a fabric cord that reads as intentional rather than accidental.
- Mount with the adhesive plate if the fixture is light, or two small screws into a wall anchor if it isn't. A pair of screw holes is easy to patch later.
Bedside sconces are the classic use case, but they work equally well flanking a sofa, over a kitchen counter where there's no cabinet lighting, or beside a bathroom mirror. Two matching sconces on the same wall do more for a rental bedroom than almost any other change you can make.
Cord Covers and Cable Management
The reason plug-in lighting sometimes looks improvised is the cord, not the fixture. Sorting that out is a fifteen-minute job and it's the difference between "renter lighting" and "lighting."
Paintable plastic cord covers snap over a cord and adhere to the wall; you can run one straight down to the baseboard and then along it to the outlet so the path looks deliberate. For cords that must cross open wall, adhesive clips spaced every foot or so keep them taut and straight. Split loom tubing works well for a bundle of cords behind a desk or media unit.
A few habits help:
- Match the cover to the wall, not to the cord. Wall color disappears; white plastic on a colored wall does not.
- Run cords down, then sideways — never diagonally across a wall.
- Tuck cords behind furniture where the run is short.
- Use a slim plug or a short extension so the cord can reach an outlet hidden behind a sofa or bed.
Removable Fixtures and Swag Pendants
If your rental has a single boob light in the middle of the ceiling and no overhead in the dining area, a plug-in pendant is a legitimate solution. These hang from a ceiling hook and plug into a wall outlet, with the cord swagged across the ceiling to the nearest socket. The hook leaves a small hole — often the size of a pencil tip — that a dab of spackle and touch-up paint will hide at move-out.
Check your lease before you put anything into the ceiling. Many leases permit small picture-hanging holes that you patch; others don't. If drilling is off the table entirely, tension rods, adhesive-backed hooks rated for the fixture's weight, and clamp-on options cover most of the same ground.
Adhesive and battery options where there's no outlet
Rechargeable picture lights, adhesive puck lights, and motion-sensor strips are useful in closets, cupboards, and hallways where running a cord isn't realistic. Be honest about what they can do: they're accent and convenience lighting, not task lighting. Output is modest and charge doesn't last forever, so save them for spots where a soft glow is the goal.
Floor and Table Lamps That Do the Work of Ceiling Fixtures
A well-placed floor lamp can carry an entire room. The trick is direction. An uplight — a torchiere aimed at the ceiling — bounces soft, even light back down and makes a small room feel taller. A reading lamp with an adjustable head puts light exactly where you need it. A table lamp on a sideboard or dresser adds a pool of warmth at seated height, which is where the eye naturally rests.
One lamp per dark corner is a decent rule of thumb, though a small room may only need two. Pay attention to scale: an undersized lamp beside a deep sofa looks lost, and an oversized shade on a narrow console crowds the wall. Also check the bulb. A warm-white LED in the 2700–3000K range will feel closer to lamplight than a cool 4000K bulb, which reads as office lighting in a living room.
Control Without Touching the Wiring
Being able to dim a light matters as much as the light itself, and you can add that at the plug. A plug-in dimmer module sits between the lamp and the outlet and gives you a slider or dial. Smart plugs let you put lamps on schedules and control them from your phone, and battery-powered remote switches can be stuck to the wall wherever a real switch should have been.
Two caveats worth knowing before you buy. First, dimming requires dimmable bulbs — a standard LED may flicker or buzz on a dimmer. Second, plug-in dimmers and smart plugs work best with lamps that have a simple on/off switch, not a built-in touch dimmer of their own. Grouping two or three lamps onto a single smart plug is an easy way to turn a whole corner on at once.
Move-Out Day: Undoing It Cleanly
Keep the packaging for anything you mount, note where the original bulbs came from, and take a photo of each wall before you install anything. When you leave, pull the adhesive hooks slowly and at a low angle, fill the small holes with spackle, sand lightly, and touch up with the paint color your landlord used — most will tell you the shade if you ask. Cords come down, covers peel off, and the ceiling hook disappears.
Done this way, rental lighting upgrades are less a compromise than a genuine improvement you can carry to your next place. Start with one room, one dark corner, one plug-in sconce. The difference is usually obvious within an evening.
Photo: Yvonne Lee / Pexels