
Pendant Lights Over a Kitchen Island: How Many and How High?
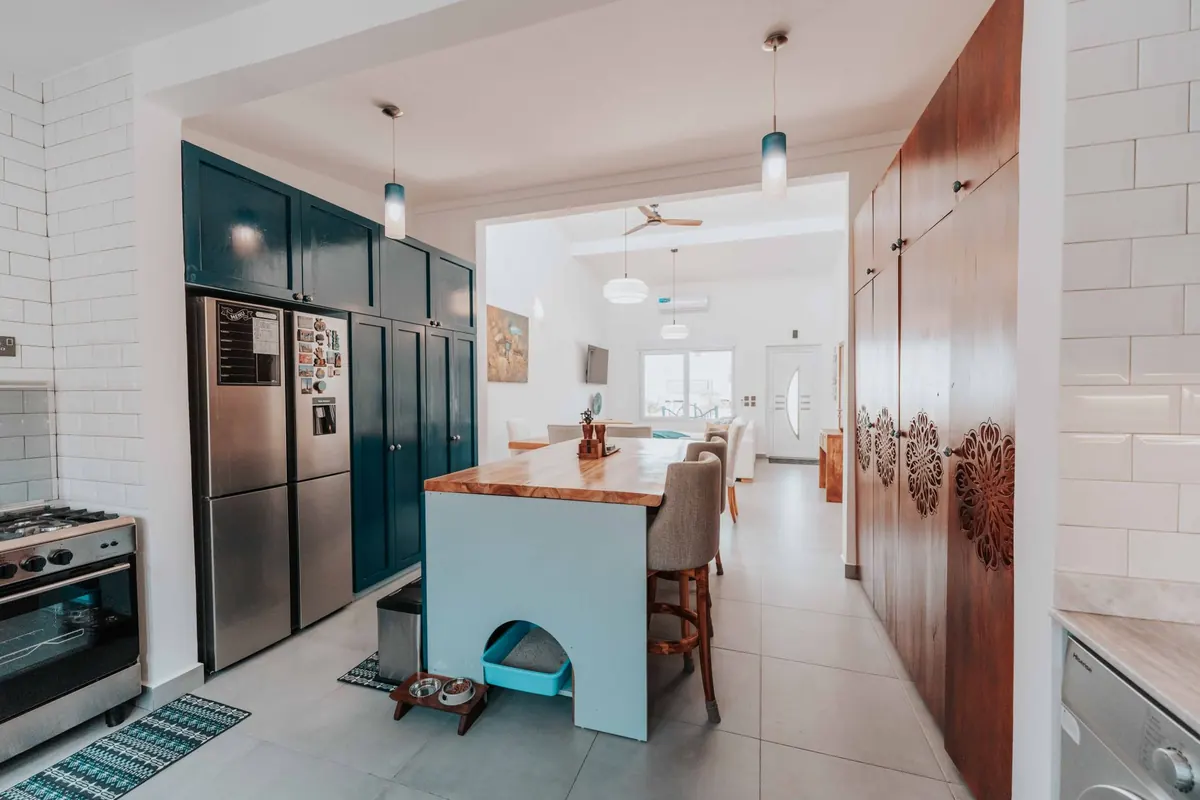
Pendant lights over an island do two jobs at once. They put light exactly where you chop vegetables, read a recipe and lean in for a late conversation, and they set the visual rhythm of the entire kitchen. Get the count wrong and the island looks either underdressed or crowded. Hang them at the wrong height and you will spend years either staring into a bulb or dodging a shade with your forehead.
The reassuring part is that a balanced row is not purely a matter of taste. Most installations that look effortless are built on the same handful of measurements, and you can take all of them with a tape measure, a pencil and twenty minutes before you order anything.
Measure the Island First, Then the Ceiling
Write down four numbers: the island's length, its width, the height of the countertop, and the floor-to-ceiling height. Add a note about anything overhead — an existing junction box, a beam, a soffit, a sloped ceiling. Those four numbers decide almost everything that follows.
One rule that surprises people: the row of pendants centers on the island, not on the room and not on whatever wiring is already in the ceiling. If your island sits off-center under a light fixture, follow the island. A row that lines up with the cabinetry reads as intentional; a row that lines up with the room but floats off the island reads as a mistake, even to visitors who could not say why.
Also look at what the island holds. A sink with a tall arched faucet, a cooktop, a raised bar — each changes where the pendants should sit and how high they can hang without becoming an obstacle.
How Many Pendants Does the Island Need?
Count follows length. These ranges assume fixtures roughly 8 to 12 inches wide, which covers most of what you will find in a lighting showroom:
- 4 to 6 feet: two pendants.
- 6 to 8 feet: two generous pendants, or three smaller ones.
- 8 to 10 feet: three pendants — the most common and most forgiving arrangement.
- 10 to 12 feet: four pendants, or two oversized ones if you want a calmer look.
- Over 12 feet: four or five, or two separate groupings that align with seating zones.
The count is only half the answer. The other half is visual weight: the combined width of your pendants should fill roughly two-thirds of the island's length, no more. Three wide drum shades over an eight-foot island will crowd it even though the number is technically right, while two slim cone pendants over the same island can look sparse. Bring the island's length to the shop and check the total width before you commit.
Spacing: The Numbers That Keep a Row Even
Eyeballing spacing is where most installations go wrong, usually because the two end gaps are forgotten. Work in this order:
- Mark 12 to 18 inches in from each end of the island. These are the limits for the outer edges of the first and last shade.
- Divide the space between those marks into equal intervals to find your pendant centers.
- Check the gaps. Aim for 24 to 30 inches between centers. Under about 20 inches the row starts to look cramped; over about 32 inches it starts to look like unrelated fixtures.
A worked example helps. Take an eight-foot island (96 inches) and three pendants that are 10 inches wide. Setting the outer centers 18 inches in from each end puts them at 18, 48 and 78 inches. That gives 30 inches between centers, about 20 inches of clear air between shade edges, and roughly 13 inches from each end of the island to the first shade. It reads as airy and even from every angle.
If the gaps come out below 20 inches, either drop a pendant or choose smaller shades. If they come out above 32 inches, add one or go larger. Adjust the end margins slightly rather than squeezing the middle.
Hanging Height: Where the Bottom Edge Should Land
The measurement that matters is from the countertop to the bottom of the fixture, not to the canopy or the top of the shade. For a standard 36-inch counter, hang pendants so the bottom edge sits 30 to 36 inches above the counter, which usually puts it 66 to 72 inches above the floor. That range keeps the light close enough to be useful on the work surface and keeps the fixtures below eye level when you are standing, so you can see across the island rather than around a lamp.
Counter-height versus raised-bar islands
Measure from the surface the fixture actually serves. On a two-tier island, pendants usually belong over the lower work surface, where the chopping happens. If they hang over a raised 42-inch bar instead, measure from the bar top and allow a little extra clearance so seated guests are not looking straight into a shade.
Tall and sloped ceilings
High ceilings tempt you to hoist everything upward to fill the space. Resist that impulse. Once the bottom edge climbs much past 40 inches above the counter, the pendants become decoration and the island goes back to being lit by whatever is behind you. Instead, use a longer stem or rod and let the fixtures hang low in the room — the drop is what fills the vertical space, not the height of the shade.
On a sloped or vaulted ceiling, keep the bottom edges level with one another in a single horizontal plane, using longer stems on the high side. A row that follows the slope looks like it is sliding off the island.
Size, Proportion and What the Light Actually Does
For a single pendant over an island, aim for a diameter of roughly one-third of the island's width. For a row, individual shades of 8 to 14 inches are the sweet spot in most kitchens.
Then think about where the light goes. Open-bottom shades and globes throw a pool of light straight down onto the counter, which is what you want over a cutting board. A solid metal shade bounces more light upward and gives a softer, more ambient feel, but it may leave the counter dimmer. Pendants alone rarely light an island evenly from end to end, so plan on recessed ceiling lights or under-cabinet lighting to fill in, and put the pendants on their own dimmer switch and their own circuit. Bulbs in the 2700K to 3000K range keep the kitchen warm rather than clinical, and dimming matters more than raw brightness on an island people sit at in the evening.
Mock It Up Before You Commit
Cut paper or cardboard circles to the diameter of your chosen shades and tape them to the ceiling at your planned centers. Cut strips of paper to the hanging height and tape those up too, or simply suspend a cardboard disc on a string. Then sit on a stool at the island, stand at the sink, and walk in from the main doorway. You will spot a crowded row or a blocked sightline in about thirty seconds — long before anyone drills a hole.
A Checklist to Take Into the Kitchen
- Island length, width and counter height written down, along with ceiling height and any slope.
- Pendant count chosen, with the combined shade width at about two-thirds of the island length.
- Centers 24 to 30 inches apart, with the outer shades 12 to 18 inches in from each end.
- Bottom edge 30 to 36 inches above the counter, measured to the lowest point of the fixture.
- Templates taped up and sightlines checked from the doorway, the sink and the stools.
- Junction boxes centered on the island, joists confirmed, and each fixture's weight checked against the box rating.
Wiring is not a place to improvise. Have a licensed electrician confirm box locations and load ratings and check your local code requirements before the ceiling is opened — that is the one part of this project worth paying for without hesitation. Everything else you can measure, tape and adjust until the row looks like it was always meant to be there.
Photo: Keegan Checks / Pexels